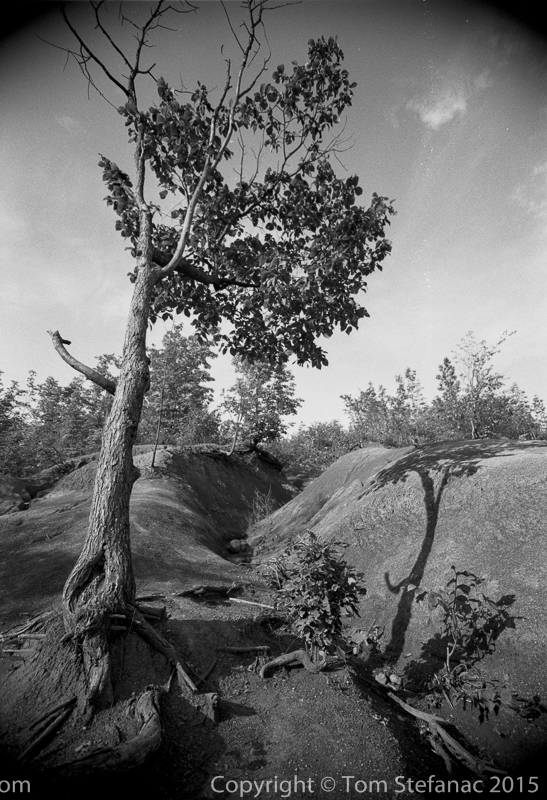
It’s hard to believe that film today has become a novelty platform reserved for artists. We’ve taken film for granted and it’s served us well over the last 200 years but it’s becoming harder and harder to find. You might be scratching your head saying “so what?”. Well, let’s look at high definition television, you know all those old movies and TV series that suddenly are now available in true HD? Well, they were shot on film, either 16mm, 35mm or some other variant. Before the evolution of high definition television and the high quality video formats of the very late 90’s, video sucked. Only low end productions would use video because it was cheap. Do you think we’ll ever see The Fresh Prince of Belair in HD? No, never, it won’t happen! It was all shot on BetaCamSP which was a very good video format for the time sporting a resolution of 560 lines which is well above the standard tv resolution of 480 lines. We can make the original Betcam video look a little better with modern technology but it’ll never look great and it’ll never be HD quality. Yet we can scan 8mm film from the late 1930’s and it looks good in HD. Take that up a notch to 16mm and you’ll think it was shot yesterday. Take it a notch further to the 35mm level and suddenly the Wizard of OZ looks beautiful in 1080P, 2k, 4k and even 8k. The beauty of film is that there is so much hidden resolution! Things photographed or filmed over 100 years ago still look great today and film has visually preserved a ton of our history.
Despite a rich past, film today is a dying medium which will continue to slowly decline in use and popularity. It is my belief that every photographer should have an opportunity to experience using good high quality film at least a few times in their life. I started photographing on film but quickly moved onto digital photos. Back in the early 2000’s digital photography was like the holy grail for me. You could take many photos, reuse the same medium (at a great cost saving) and best of all, the results were instant! You knew right away whether or not you had a good photo and it helped me greatly with my ability to frame and compose photos.
I wont lie though, digital photography took a long time to catch up to film but it happened and now digital photography is surpassing film in most ways. Before I rant on about how good film is, I’ll let you know why digital as an everyday medium is better!
First off, I’m not getting into the whole debate about megapixels and ink blots, let’s just remember this, when you measure a photo, you look at the end product hanging on a wall. Whether it was from a 3 megapixel camera from 2003 or a 100 year old Burke and James 8×10 system does not matter, all that matters is what the viewer perceives. Film cameras, specifically 35mm systems are limited to 24 or 36 exposures which is nothing compared to how many hundreds of digital photos you can stuff on a 32GB memory card. Each roll of film is rated at a specific speed for light sensitivity such as ASA/ISO 100 locking you in until you switch rolls while a digital camera has a huge range of ISO and your not locked in. Film traditionally had more dynamic range until 2012 when digital sensors finally surpassed that barrier. Today many cameras embed EXIF data including GPS coordinates, date/time and specific information about the camera settings, so you’ll never really wonder when/where/how a digital photo was taken, film of course, does none of this.
That said, film is not digital, and digital photography is not film. In order to understand the beauty of film you need to use it. I’ve found that when shooting with film I’m forced to stop and slow down. Because I have a limited number of exposures available and I want to squeeze as much out of a single roll as possible I really stop and think. I concentrate on exposure, composition, second guess myself, wait for the right moment, breathe slowly and then in a split second I have my photo. There’s no looking down at the LCD to see if I got the shot I wanted, there’s no waiting on the camera to process the photo. It’s over and done, I’m already thinking about the next photo and move on. When I’m finished with one roll I might move on to something else such as Ilford Delta-100 black and white or Kodak Ektar.
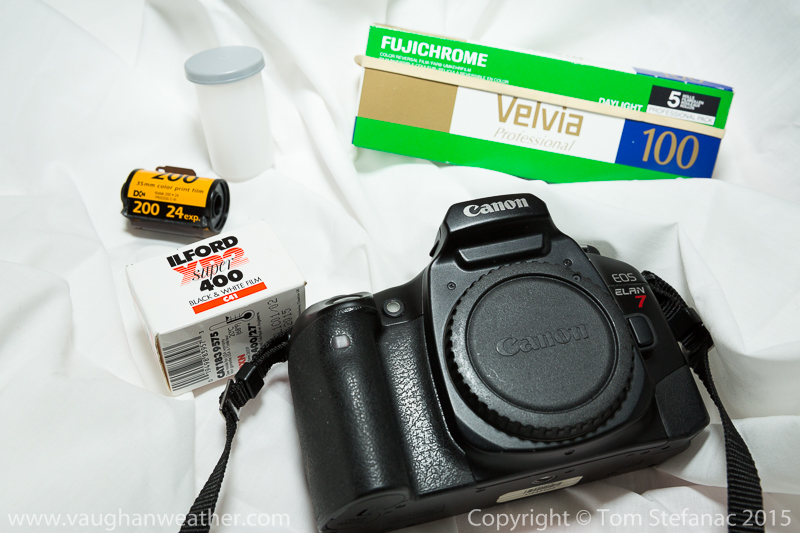
To date my favorite film by far, and I say this without any hesitation is Ilford Delta-100. It’s very sharp, clean and extremely responsive. There’s no colour information, it’s black and white, but it produces the best black and white photos period. Heck, they’re way better than anything my 5DMKIII produces. My two favourite colour films are Kodak Ektar 100 and Fujichrome Velvia 100. For someone just getting into film your going to want to stick with a C-41 process, that’s the standard and most basic chemical process for development. Most Wal-Mart’s and drug stores still have machines capable of developing this film. Kodak Ektar is a C-41 process as well as Ilford XP2 which is not true black and white but simulates the process well. If you want to spend more money, anything that’s not C-41 will do, but be warned, you’ll need to use specialty stores to develop those types of film. Fujichrome Velvia has the highest resolving power and some of the richest colours among colour 35mm films still in production but be warned, it’s an E-6 process which very few places are capable of developing/working.
 So to reiterate, C-41 is the most common film development process followed by RA-1. Next on the list is E-6. After E-6 there is a whole bunch of special and discontinued formats, bringing us to the Ilford Delta series which has its own very specific process that is for the most part completely manual.
If you don’t have on old 35mm camera laying around or you want one with a good, fast and responsive auto-focus system then head over to your local camera shop and they’ll probably have a few dozen used cameras. Don’t spend a lot of money, you can probably get an old Rebel or Elan7 for $10 or $20. In fact, I’ve found an old Canon EOS-1v in a bin of SLRs and bought it for a WHOPPING $40. That’s not bad when you consider that it was Canon’s flagship camera at one point and remains their only film based camera still in production. If you do have an older 35mm camera check to see if it has a metering system that actually still works. Retro old school cameras that use the sunny-16 rule are cool but you might just take a whole bunch of under or over exposed pictures, especially if you venture into the shade. For a beginner, I definitely recommend a digital metering system so you can get a feel for what’s going on before you rewind to the days before digital meters existed.
 Now with all this talk about film, going out and shooting it and getting it developed are one thing. Transferring this analog medium to a digital format is a whole different ballgame. There are three basic methods to accomplish this transfer, the first is using a traditional flatbed scanner, the second revolves around the use of a specialized film scanner and the third is using a $100,000 drum scanner. The first two you can do at home, the third is something that only a professional company can do for you.
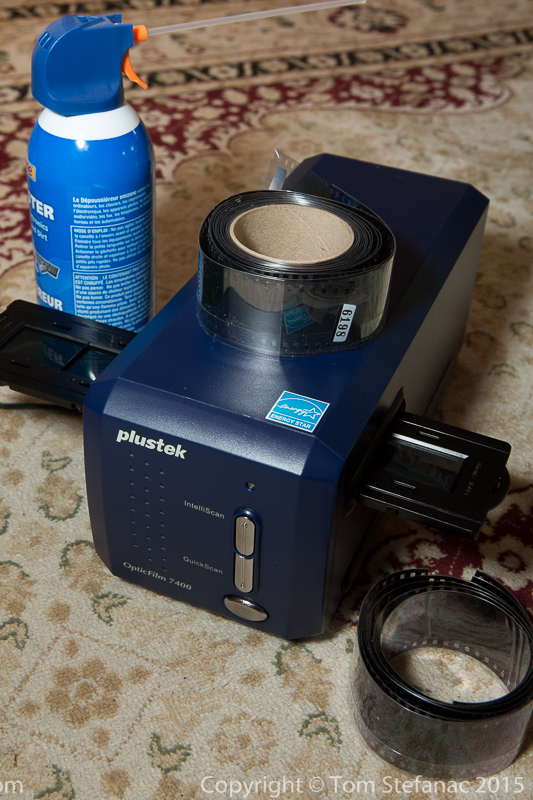
The problem with flatbed scanners is that they lack the high resolution you need for really nice prints and the colours can be flat. If you wan to spend $99 – $500 you can get a pretty good CCD/CMOS specialized film scanner that can get you upwards of 3600 to 6000 DPI of resolution. If you want to get every ounce of detail out of your film then a drum scanner will do that with resolutions surpassing 15,000 DPI and every detail coming out of any shadows, but be warned, you’ll pay $$$. I use a Plustek 7400 scanner, it’s now obsolete (go figure) and boasts 7200 DPI of resolution. The real world resolution is actually around 4000 DPI and generally speaking you only get around 30-60% of the “advertised” resolution from any scanner. Some scanners have infrared lights and silver detection tools which help detect scratches and dust to later have software remove them. Cheaper scanners use algorithm based guesses to hunt for dust and grit.

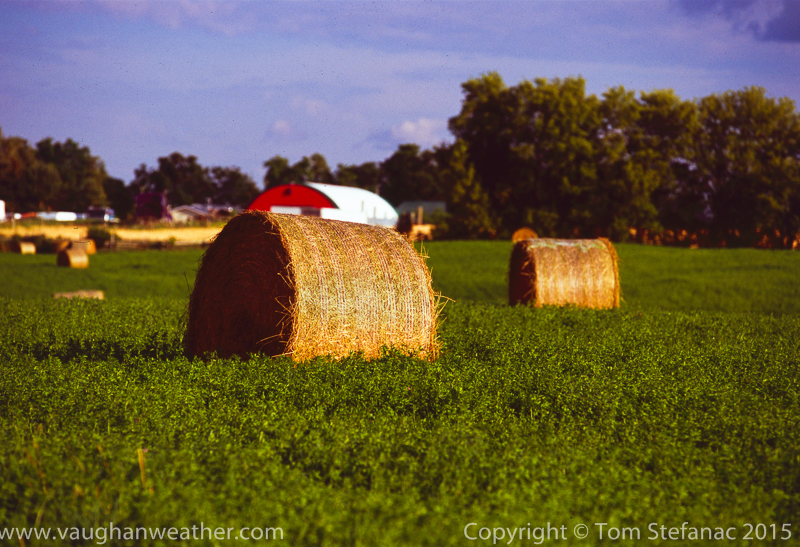
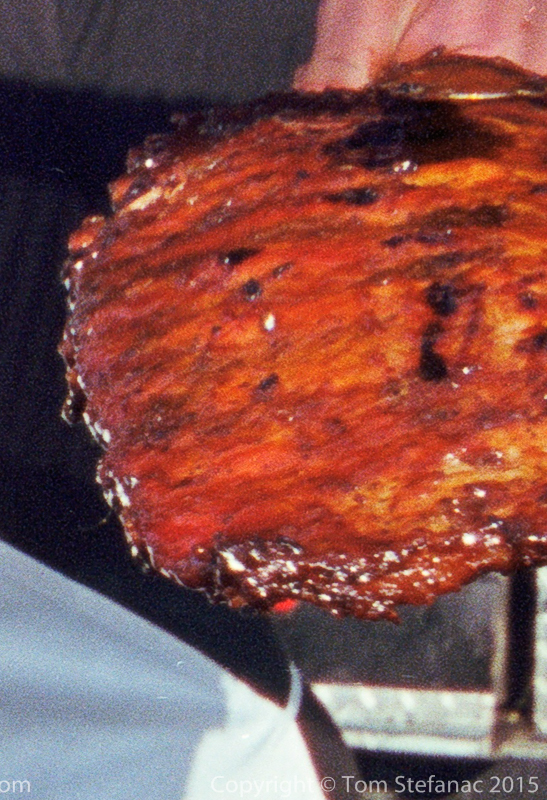
This photo was taken at the Woodbridge Ribfest using Kodak Ektar 100 in daylight. The colour detail and saturation are excellent, it was scanned using my Plustek 7400 with Silverfast 6.0 and Wal-Mart developed the photo (remember C-41 process) at a cost of around $6 plus prints. The good thing about films like Kodak Ektar is that they are very tolerant to over and under exposure whereas Fuji Velvia needs to be almost spot on or you’ll loose the highlights. The downside to more tolerant films is that they often have bigger ink blots and more grain, so none of my Ektar prints will have the same degree of detail or “resolving power” as Fuji Velvia. The other thing to remember is that as you increase a films sensitivity to light the ink blots become bigger. What I mean by that is a film which is rated at say ISO/ASA 800 will not have the same resolving power as the same film type at a rating of ISO/ASA 400 but of course only needs half as much light as the 400 film to garner the correct exposure and hence the difference between requiring a 1/60th versus 1/30th shutter speed.
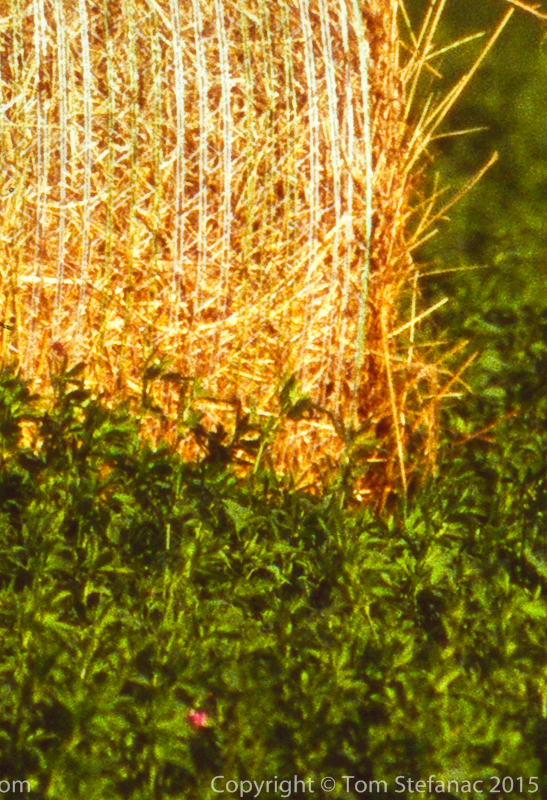
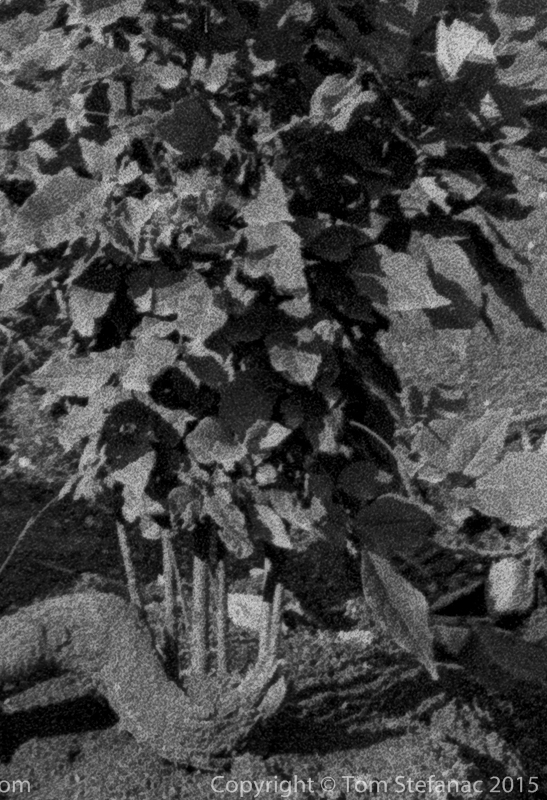
Here are a couple shots showing 100% crops where film grain is visible. Left is Ektar, center is Velvia and right is Ilford. Hands down Velvia wins for resolving power but Ektar and Delta are not far behind. These scans are also not that great compared to what a drum scanner would produce so keep that in mind too!
Well I think that closes out part one of “Shooting Film”, eventually I’ll get around to writing up Part 2. Until then, go and enjoy some good old fashioned photography.