Posts Tagged: 5DSR
Canon 5DSR
The latest, biggest and baddest addition to my photographic arsenal is the Canon 5DSR. This beast of a camera shoots at a whopping 53 megapixels (effectively 50.6), more than double the resolution of the 5DMKIII, three times the resolution of the T4i and over four times the resolution of the XSi. Part of the reason I splurged on this camera was the desire to utilize the new Canon 11-24mm lens to the fullest, which means squeezing every pixel out this body/lens combination.

Canon EOS 5DSR
In short, the 5DSR is basically a 5DMKIII on steroids, it’s virtually the same exact body with a couple tweaks in the menu, more vibrant colours and overall better colour science with much more powerful Dual DIGIC 6 processors. The tradeoff is that the autofocus is a hair slower than the 5DMKIII and the 5DSR can only shoot 5 frame per second vs the 6 frames per second the 5DMKIII can shoot. All in all though, for landscape, weather, sky and studio portrait photography, the 5DSR is a powerful tool!
The Canon 5DSR with a Cokin Z-Pro sunset filter
If you’re wondering which camera I give preference to, don’t worry, the 5DMKIII and T4i still get plenty of use. I basically keep a different lens on each body so I can quickly achieve the photo I desire without having to switch lenses. Wider lenses I tend to keep on the 5DSR, midrange lenses on the T4i and zoom lenses on the 5DMKIII. I found that the autofocus of the 5DMKIII is superior to the T4i and yields very good results when shooting something soft like a tornado at 150-200 millimeters which might not have rigid contrast. The T4i does very well with intermediate lenses and gives the 24-70mm lens a little more reach while maintaining autofocus. The 5DSR is slower than the MKIII but faster than the T4i and yields a lot of information that can be used to crop wide-angle shots.
Enjoy some sample photos I’ve taken with the 5DSR below!
EOS 5DSR Sample Photo – Full Resolution Here
EOS 5DSR Sample Photo 2 – Full Resolution Here
EOS 5DSR Sample Photo 3 – Full Resolution Here
Photographic Accessories
In addition to the DSLR bodies themselves, I have an array of filters, polarizers, plate holders and trigger / remote systems.
Having a good quality, responsive SLR is the first step in taking great weather photos, the next is having the tools that can take your camera to the next level.
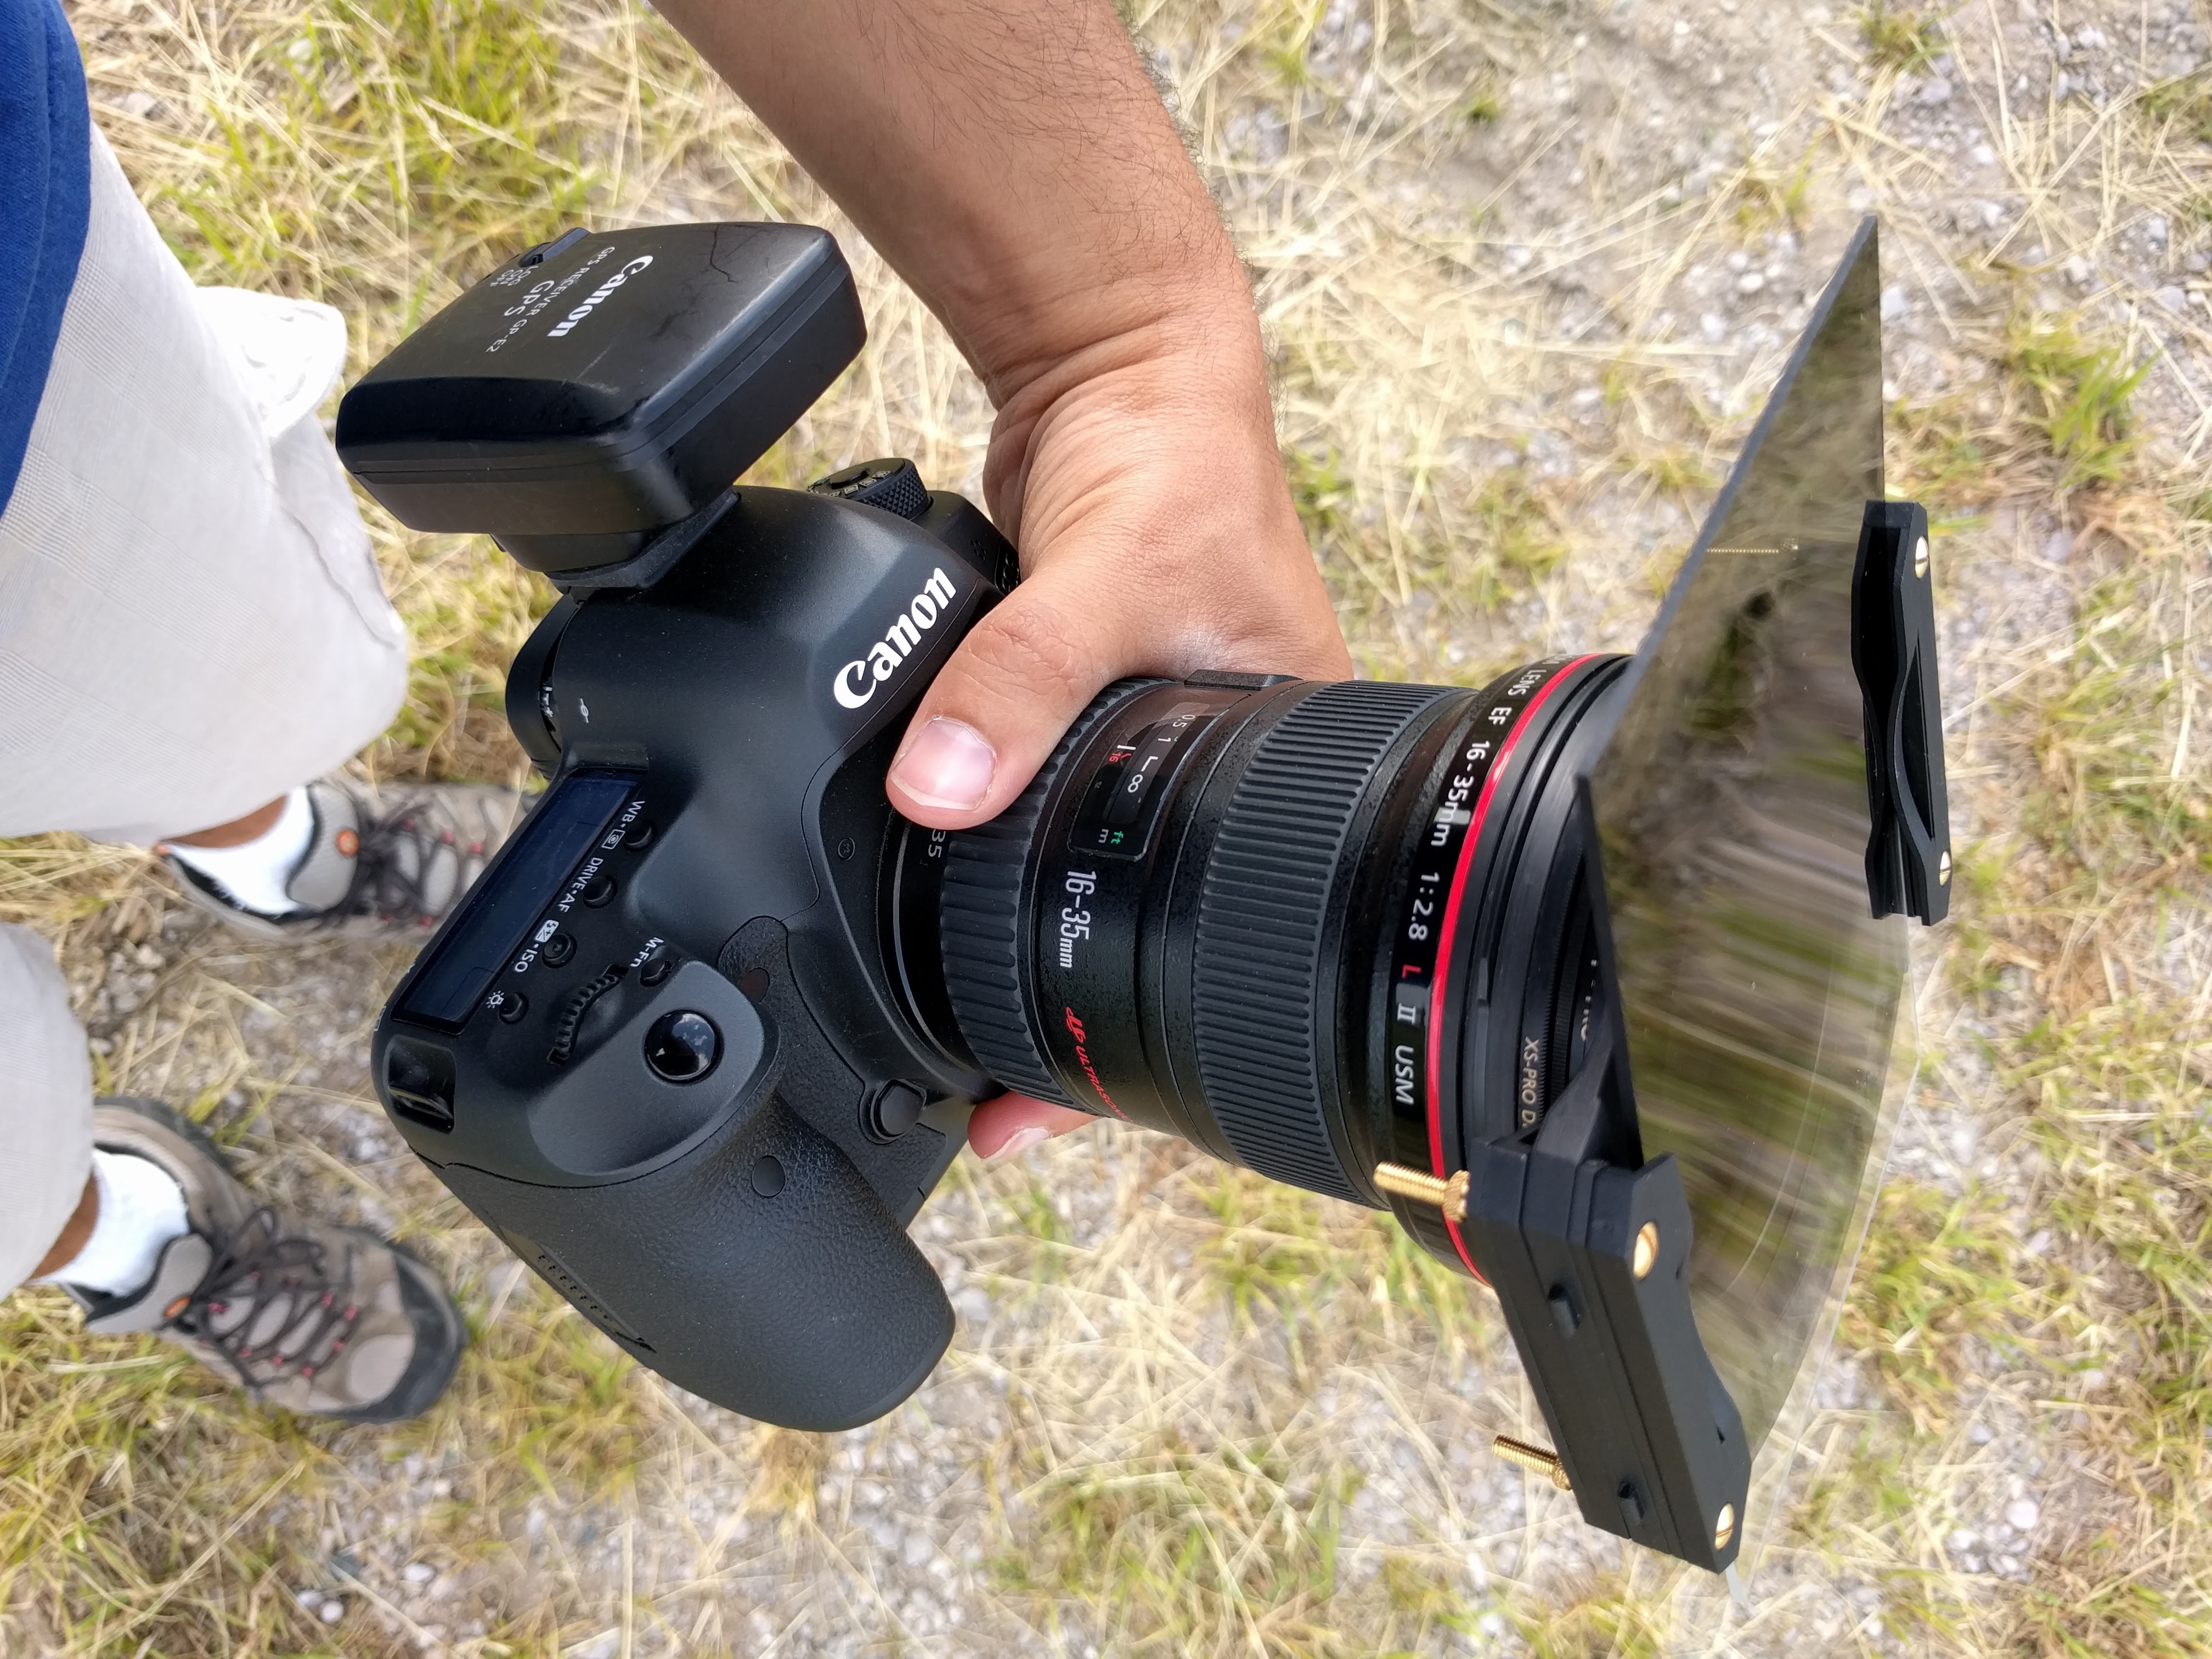
Canon 5DSr with a Cokin Z-Pro Filter Holder, ND8 Grad, B+W C-Pol on a 16-35mm f2.8 lens with the GP-E2 GPS attached to the hot shoe.
Photographing storms is never a quick easy process, yet storms by their very nature require you to be a fast, accurate and confident photographer. You need your camera to be focused correctly, the exposure to be accurate, white balance acceptable or faithful and a steady hand or tripod to prevent motion blur/jitter. Only after all these factors are correct can you start taking photos and make adjustments to composition, and other elements.
Once you’ve mastered the basics, and learned how to use your lenses effectively, then you can add things to them such as circular polarizers to deepen the blues in the sky and make the clouds pop out.
You can also add graduated filters to help balance the bright clouds against the darker foreground. If you’re really brave, you can combine polarizers, neutral density grads and even coloured filters to make things pop or create hyper-realistic art.
I say art because the instant you push your photo beyond a faithful true to reality representation, it’s no longer realistic to what was there but a form of pseudo realism. Think about it like this, if I use a filter to make the sky pink and the pink sky somehow balances perfectly with a big white thunderstorm against a field full of yellow sunflowers, it’s acceptable as a cool photo, but it’s no longer realistic. I’ve tricked your eyes into believing something that’s probably impossible and further to that point, manipulated reality to create something that I feel looks better. The photo is partially representative of what was there since I did not remove elements but it’s not faithful to the reality of the moment since I added false colour to the sky.
So remember, tools like filters and grad to help you turn your photos into art, or make them more representative and faithful to what was there. It all depends how you use them.